How-to Guides
Alert U Quick Reference: Using the App
Keep in Mind: Location, Audio, and Video are tracked only when permission is expressively given on the Everbridge App, ensuring the end-user has control and full privacy to easily opt-in and opt-out of these added services.
Safety Features
Safety Features provide an instant way for students, faculty, and staff to call for help, leading to an improved response time and de-escalation of a situation; enabling you to quickly contact UMMC Police.
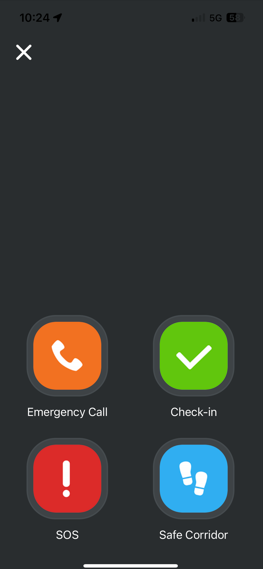
Open the Everbridge Mobile App and tap on the shield icon at the bottom right. From there, you have four emergency options: Emergency Call, Check-In, SOS, and Safe Corridor.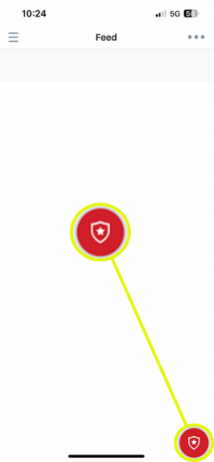
Emergency Call
When using the emergency call function on the app, the user can call directly to UMMC dispatch. To make an emergency call, follow the steps listed below:
- Tap the red shield icon.

- Tap the orange phone icon.

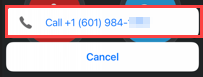
- Tap Call and your phone will call the emergency number.
Check-In
This feature allows users to quickly let UMMC Police know where they are if the user is in an unfamiliar or uncomfortable situation. To check in and allow a UMMC Police Dispatcher to know your location, follow the steps listed below:
- Tap the red shield icon.
- Tap the green check mark icon.

Note: Your location point, at the time of checking-in, will be the only location that will be shared, unless you opt for Auto Check-In. It is preferred for users to have their automatic check-in toggled to Off. Leaving this on, will allow your location to be tracked every time you move 500 meters.
Auto Check-In
Auto Check-In automatically updates your location whenever your device has moved approximately 500 meters. To enable Auto Check-In (or to check and make sure it is not enabled), follow the steps listed below:
- Tap on the upper left corner menu.

- Tap Settings.

- Tap Safety Settings.

- Toggle Auto Check-In to on.

SOS
The SOS feature, when activated, will record audio and video on your cellular device while simultaneously uploading the live stream/recording to UMMC Police. As a safety feature, after activation, the app will return to the home screen to hide that the SOS feature has been activated.
To use SOS, follow the steps below:
- Tap the red shield icon.
- Tap the red exclamation point icon.

Safe Corridor
The Safe Corridor feature helps make sure users are safe when they walk on campus. The user will set a code in the app. If the user doesn't check in, after a set period of time, an emergency request will automatically be sent to the UMMC Police. The dispatcher will receive the user’s name, phone number, and last known location.
To use Safe Corridor, follow the steps listed below:
- Tap the red shield icon.
- Tap the blue footprint icon.

- Enter a four-digit code and tap the blue footprint icon that says "next" underneath.

- Confirm your four-digit code and tap the blue footprint icon that says "start" underneath.

- Enter your four-digit code when prompted, or tap SOS to send your location.
- Enter your duress code instead of your four-digit code to silently trigger an SOS.
Note: For steps on how to configure your duress code, reference the Initial Set-up page. - Tap Exit and enter your four-digit code to end the Safe Corridor.
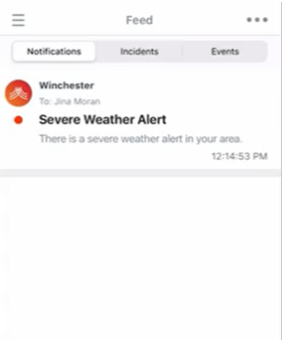
View App Notifications
Notifications can be viewed from the Feed page. Simply tap a notification.
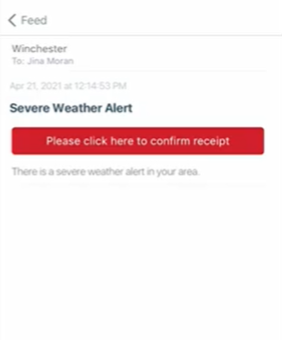
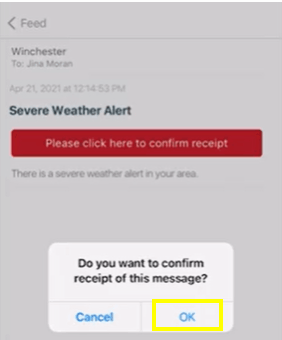
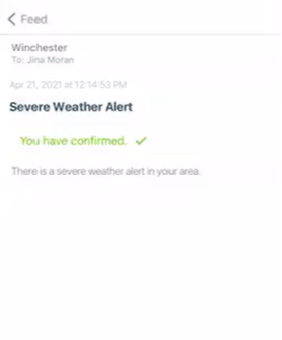
Some notifications require you to confirm whether you received the message.
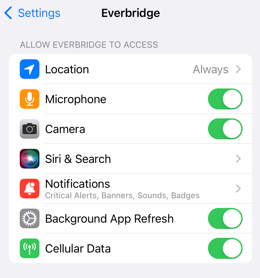
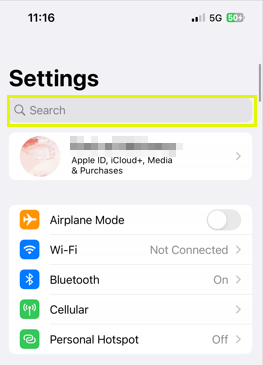
Update Location or Notification Settings
- Go to your settings application on your mobile device.

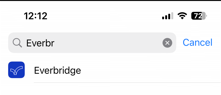
- In the top search bar, type Everbridge and select the app when in filters up.
- Make the needed changes and closeout of the application.